Revit® Project Base Point Explained
Project Base Point (PBP) and Survey Point (SP) are one (two) of the most misunderstood features in Revit. Although the concept is very complicated, it can be explained in simple words (with help of few images, of course) so everyone can easily understand it.
The basics
First, you need to know some basic information about the Project Base Point indicator (or “element”, if you like).
Revit has three elements that represents different coordinate systems. Two of them are visible to user (called Project Base Point and Survey Point), the third one, however, is virtual.
The most easier way to comprehend this is to explain to yourself like this:
- There is a piece of land in the real world and is represented by attached Survey Point. Moving the Survey Point, while it’s attached to the model, is like taking a piece of land (the whole parcel) in your hand and move it to another place on the Earth.
- There is a building on a piece of land and is represented by Project Base Point. Moving the Project Base Point, while it’s attached to the model, is like taking the building in your hand and move it to another place on the land parcel.
Project Base Point attached to the model
![]()
All model elements are attached to the PBP when the little paper clip near the PBP looks like the figure on the left. To see it, you need to click on the PBP first.
In this situation, moving the PBP will move the whole model, not only in X and Y but also in Z direction (elevation). It’s moved relative to the world (represented by attached project Survey Point), or to be more illustrative: building is moved on the land parcel* :
* Moving attached PBP will move topography in case where it’s modeled in the same Revit project file together with other model elements. Images above illustrates moving the building on the imagined parcel of land.
Project Base Point detached from the model
![]()
Model elements are NOT attached to the PBP when the little paper clip near the PBP looks like the figure on the left. To toggle paper clip state, just click on it.
In this situation, moving the PBP will NOT move the model. Regarding Z direction (building elevation, only the relative elevations will change, see the next chapter). Only the PBP will be moved (relative to the world, represented by attached project Survey Point), or to be more illustrative: building stays on the same place (on the same world X,Y,Z coordinates) on the land parcel while PBP is moved: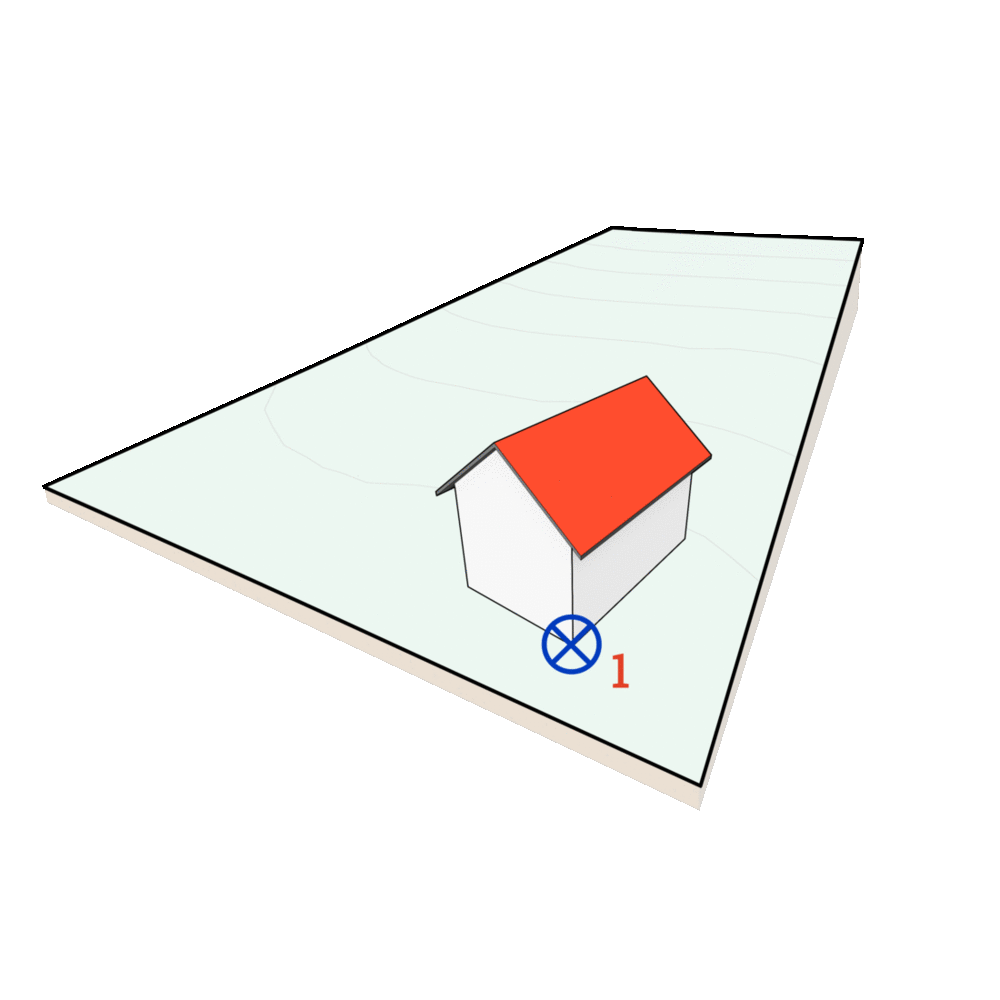
Project Base Point and elevations
Important thing to know is that Revit Level with relative elevation of zero (0.00m) goes through Project Base Point.
Why is this important? Well, if you ever need to change your relative project zero elevation to another place (another elevation, level, or a building storey) the only correct (and easy) way to do it is to unclip (detach) Project Base Point, move to another elevation (in vertical view: Section or Elevation) and clip (attach) it again.
Project Base Point and orientation to true North
Another important thing to know is that information about the building orientation to true (world) north is stored in Project Base Point. Changing this value will change the building’s orientation (rotation) on the land parcel (that is, relative to the real world north). Positive angle to true North runs in clockwise direction.
Regarding Angle to true North, it does not matter if Project Base Point is attached (clipped) or detached (unclipped) to the project.
Project Base Point and Revit Solar Study
Angle to true North is important regarding Revit Solar Study, since shadows will fall different depending on how the building is positioned. If you change Angle to true North parameter, make sure that you switch Revit Sun Path off and on again to apply the change in the building orientation.
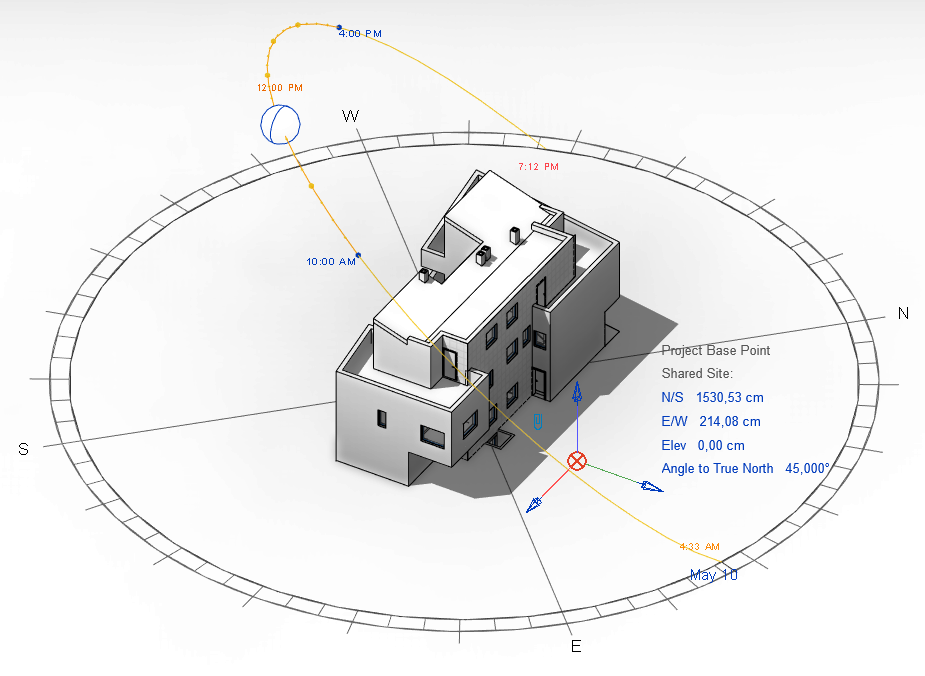
Regarding the coordinates of the Project Base Point or Survey Point, they are irrelevant for Revit Solar Study.
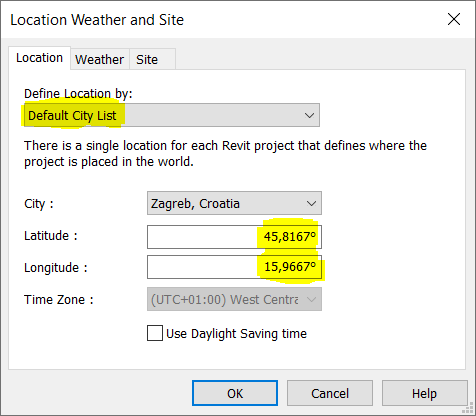
Location of the building for Solar Study is set in “Sun Settings” under “Location”, or via ribbon, under: Manage > Location: